Making the Grade is a website for the Investment Grade Charity event held each year.
Project Details
URL: https://makingthegrade.org/
Bitbucket Repository: https://bitbucket.fitchratings.com/projects/FGMAR/repos/making-the-grade/browse
Hosting: https://portal.hostgator.com
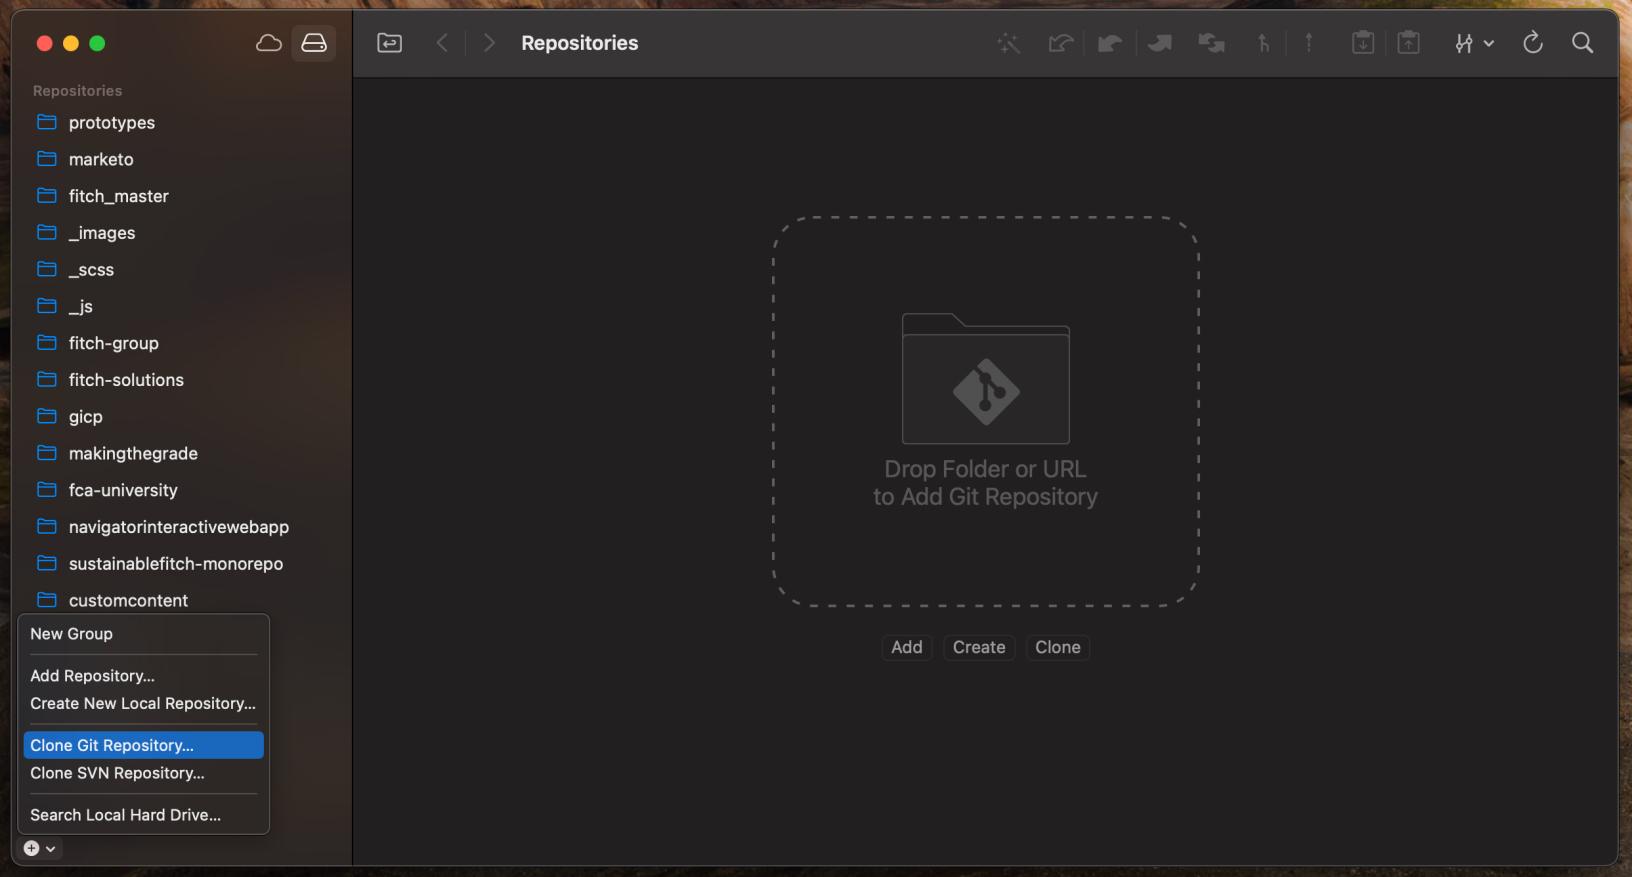
Setting up the site and submodules using Git Tower
Git Tower
To clone a repository from bitbucket follow these steps:
1. Click the + icon in the bottom left of the application and then click Clone Git Repository...
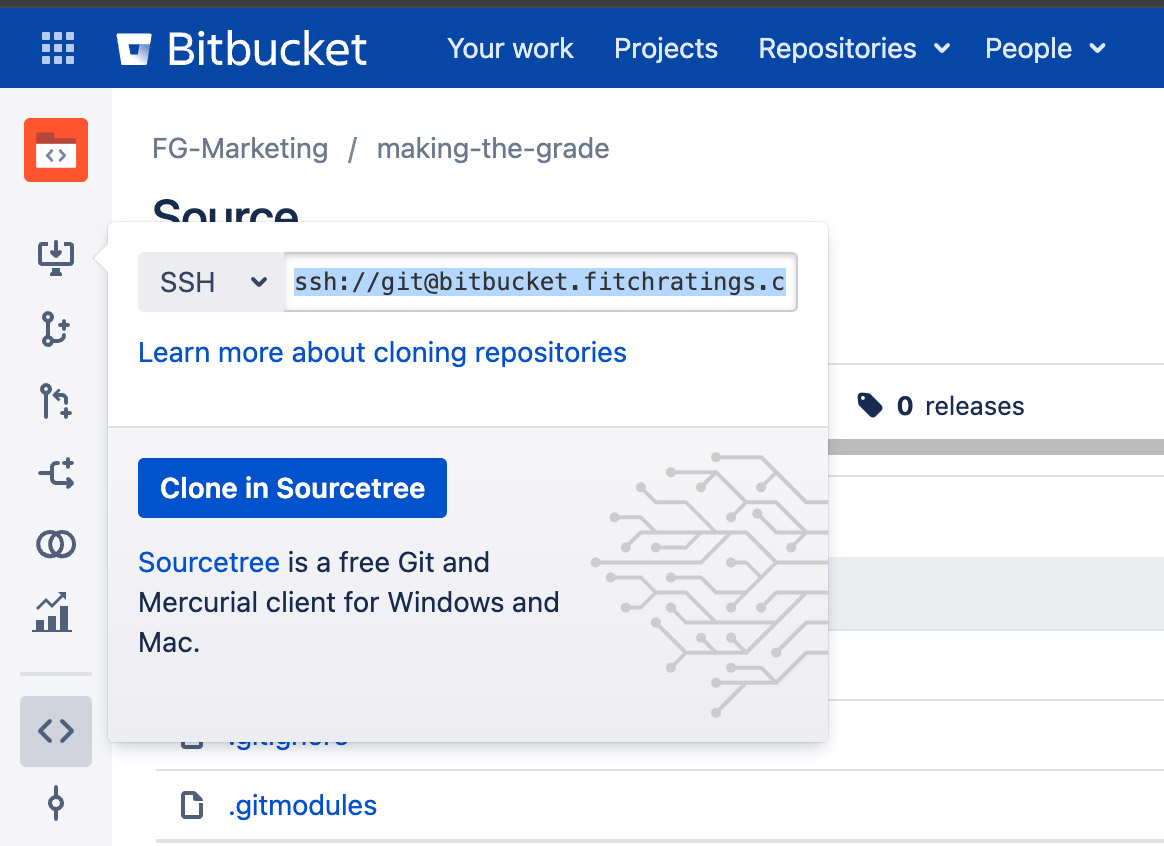
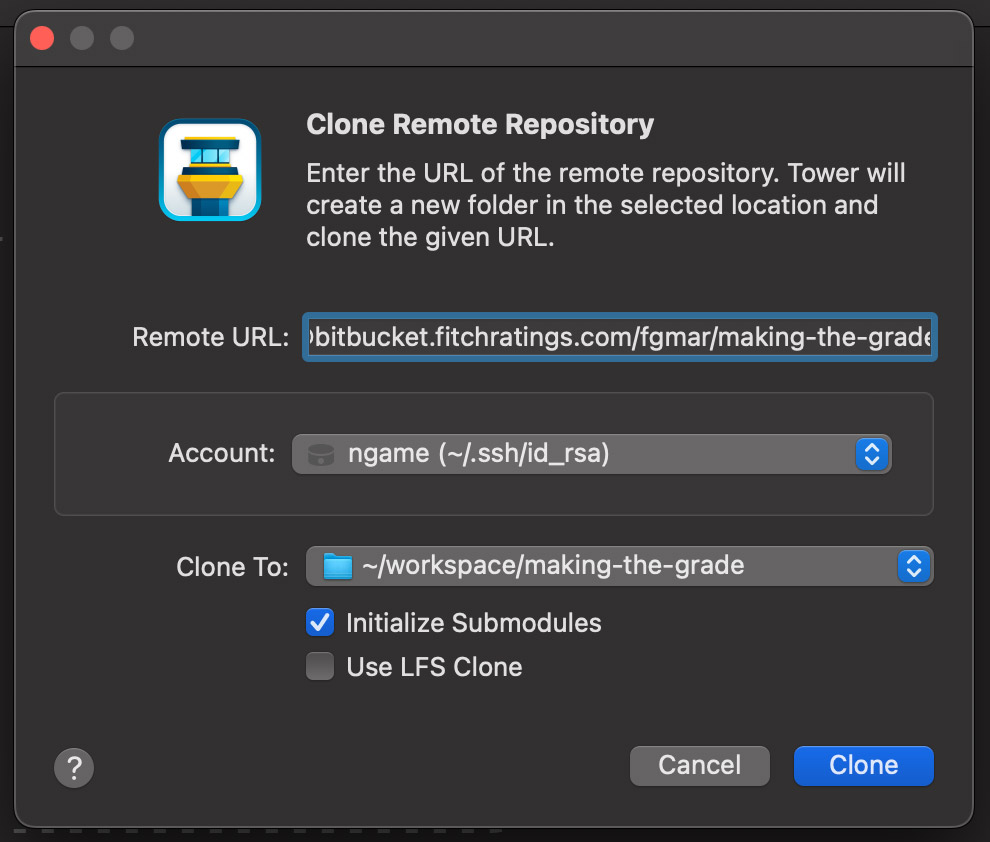
2. Paste in the SSH clone URL found in bitbucket, select your SSH key and select your workspace directory where the project will be cloned to. Make sure to tick Initialize Submodules before you click clone
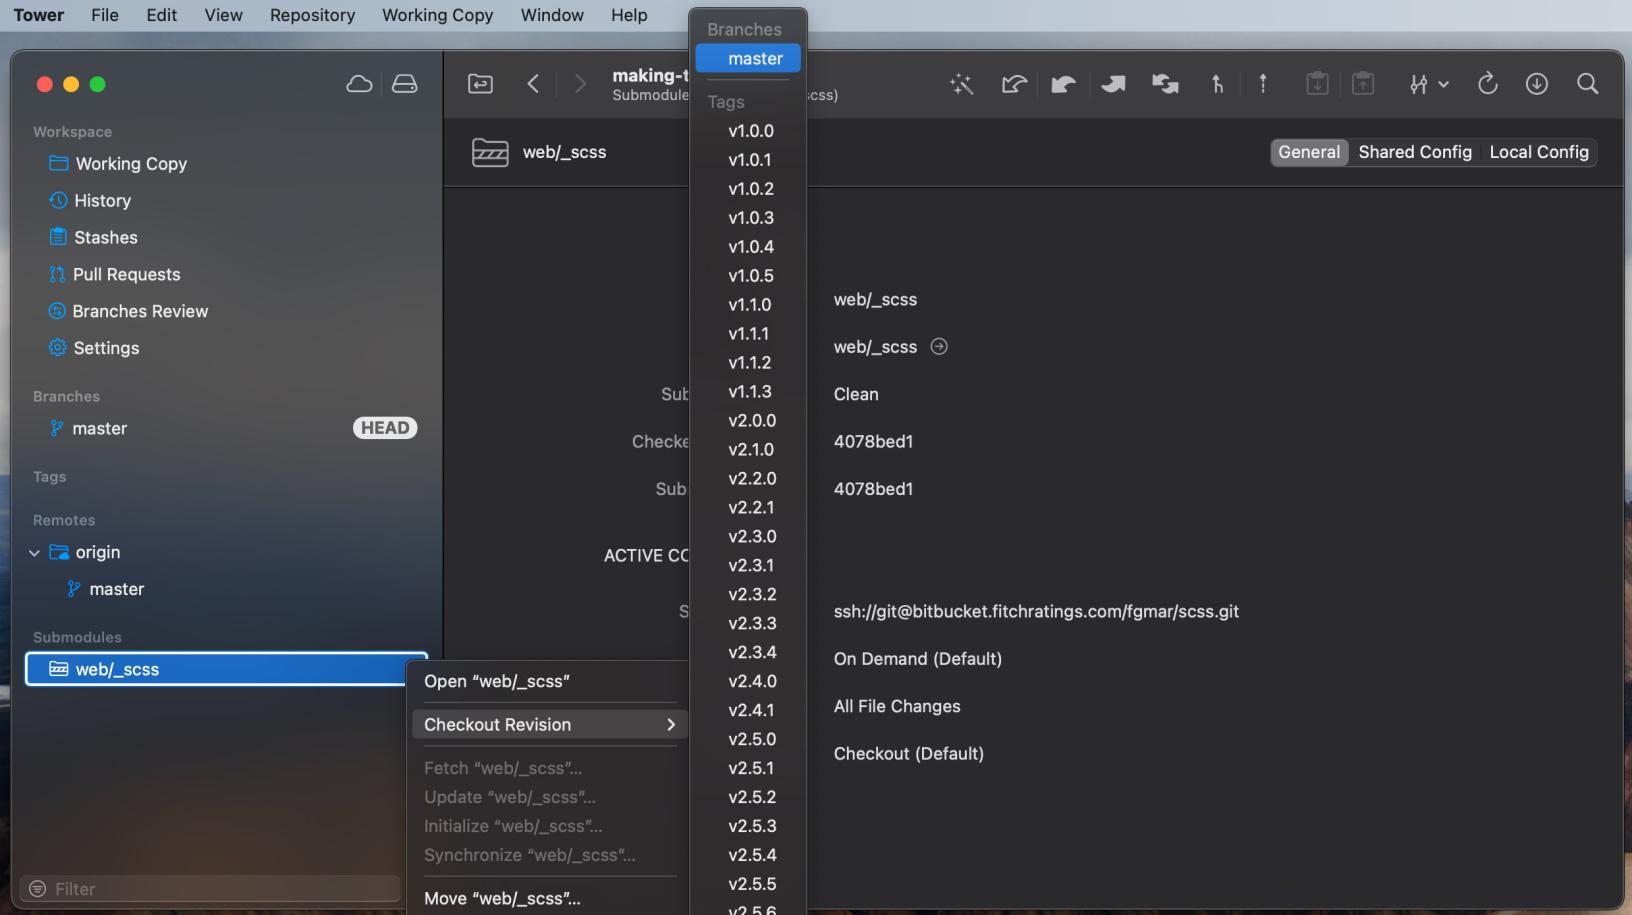
3. After the project has cloned expand the submodules title by hovering over it and clicking the arrow on the right. Next, right click on the submodule, hover on Checkout Revision and select master
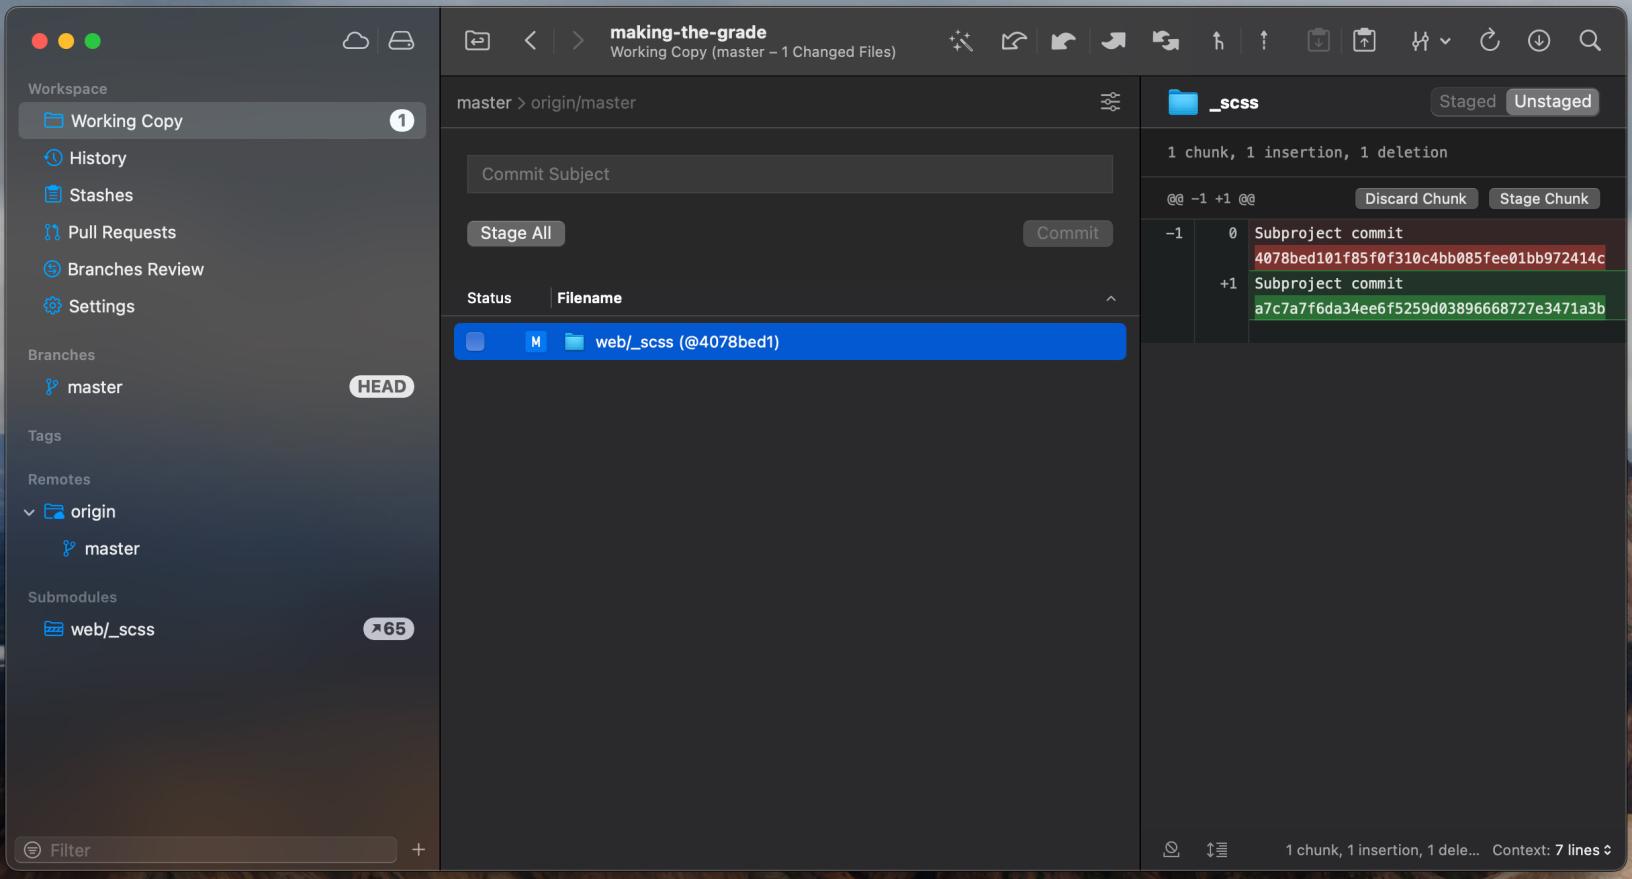
4. Make sure you don't commit the hash change for the submodule
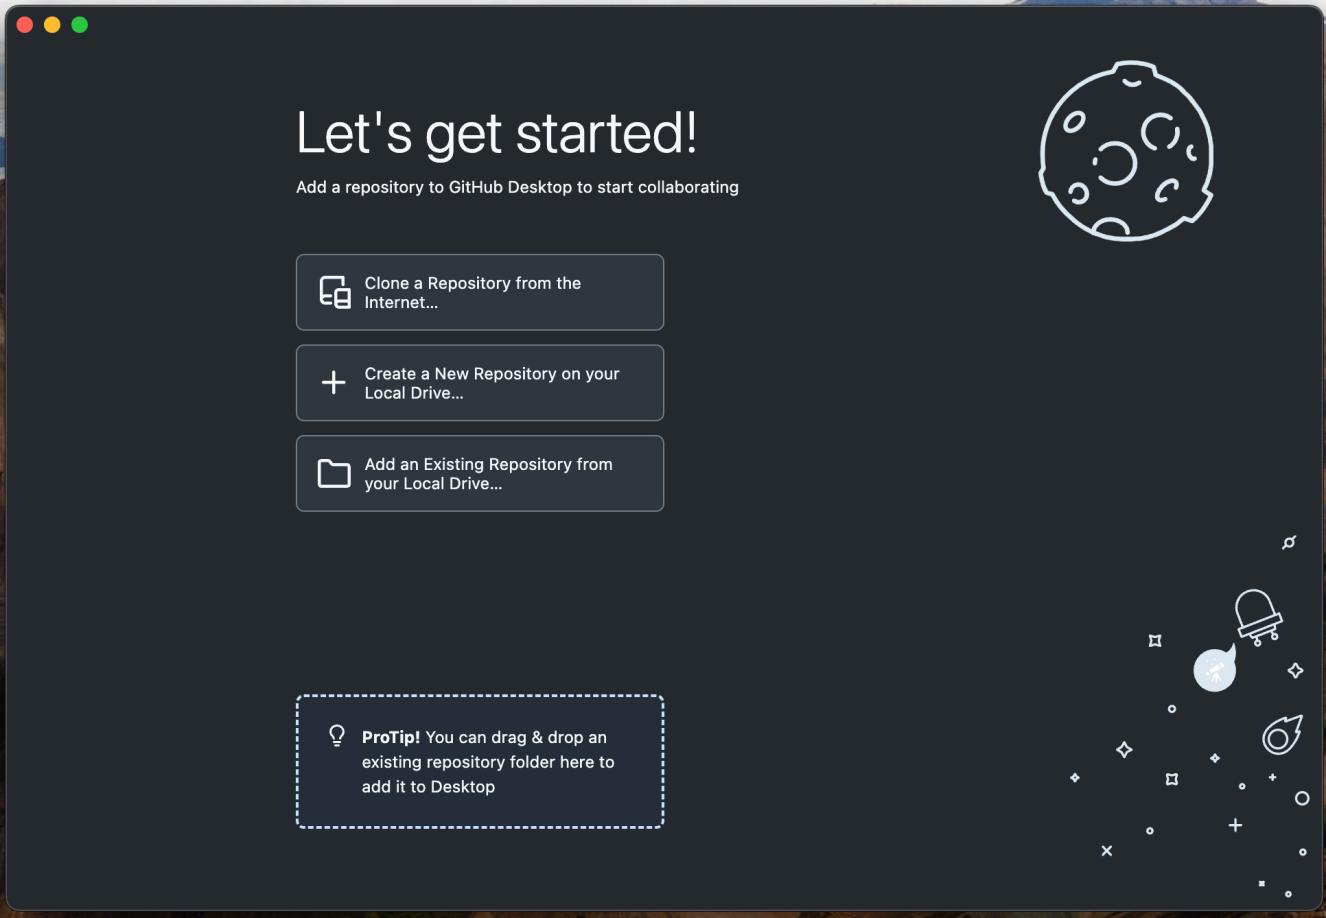
Setting up the site and submodules using Github Desktop
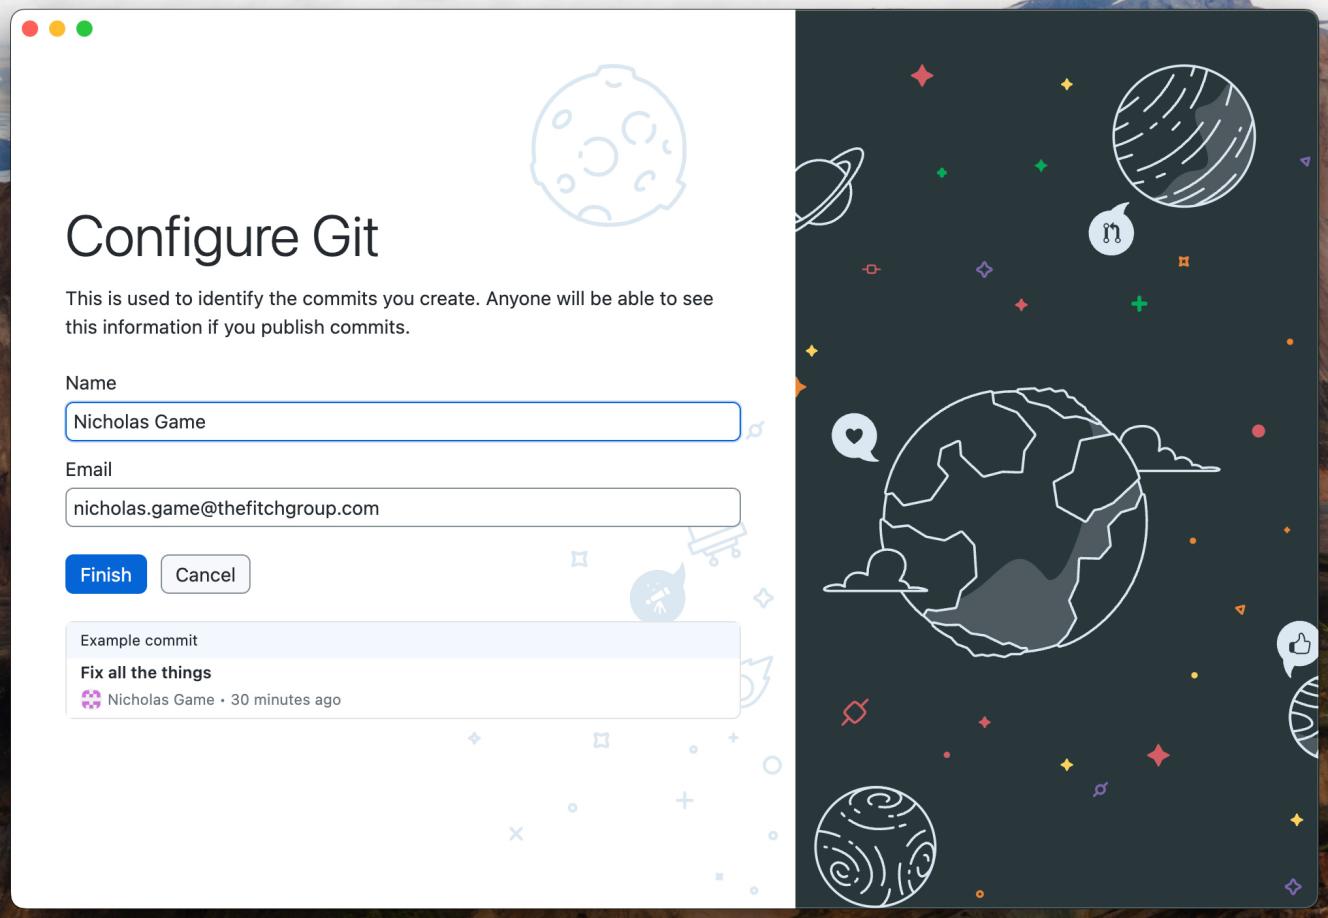
1. Add your full name and work email, these will be used for commit history.
2. Click, Clone a Repository from the internet...
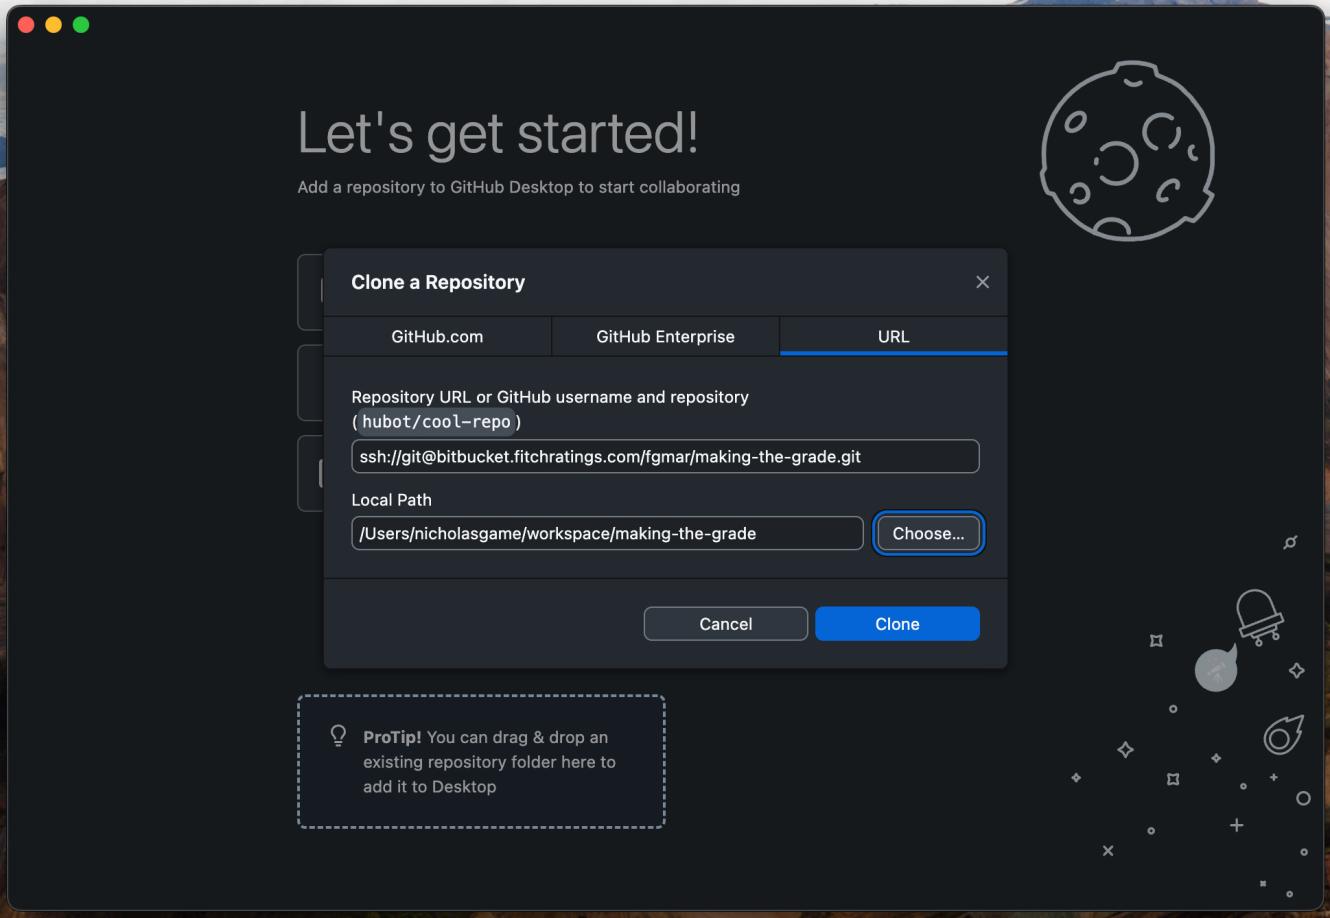
3. Paste in the SSH clone URL found in bitbucket and select your workspace and add the project name
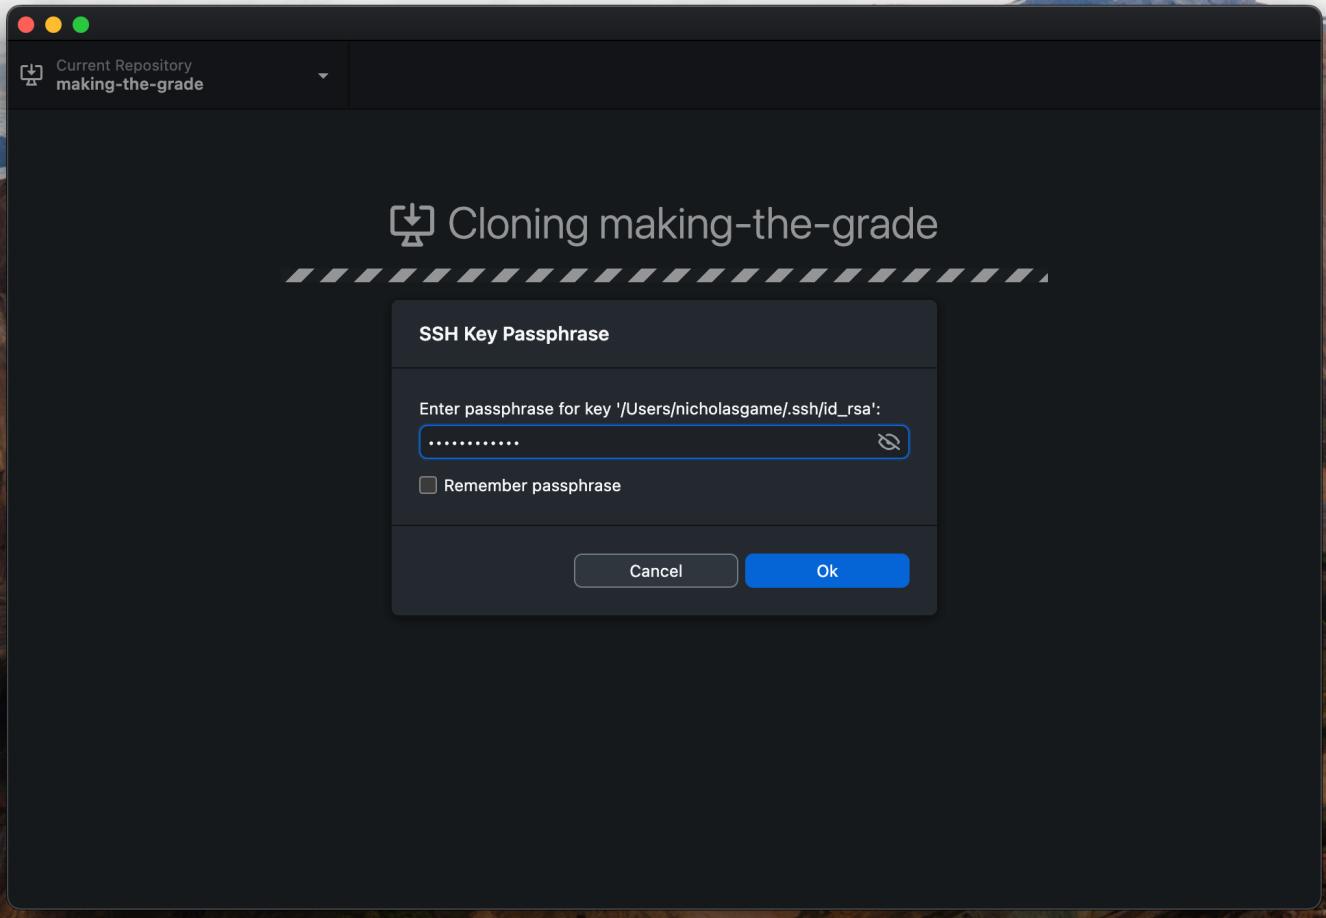
4. Input your SSH key passphrase to start cloning the repository. If you don't Remember passphrase you will need to input it again to clone the submodules.
You're all done, you can now update the site and push changes to master.
Setting up the site and submodules using Terminal or similar
To setup the site using terminal or similar follow these steps.
cd workspace
git clone ssh://git@bitbucket.fitchratings.com/fgmar/making-the-grade.git making-the-grade
The above is enough if you are only updating the sites copy. If styling changes are required, this can be done in the SCSS submodule following the branching and tagging practice, if you haven't worked with the submodules before, please refer to the how to guide that can be found here.. To setup the SCSS submodule follow these steps.
cd making-the-grade
git submodule init
git submodule update

cd web/_scss
git fetch origin
git checkout master --force
To compile the SCSS into CSS you will need to run GULP. If you haven't setup GULP before you'll need to set this up following the steps here.
If this is the first time working on the project you'll need to install the GULP files, to do so follow run.
cd workspace/making-the-grade/dev
npm install
To run GULP follow these steps. This is only required if making styling changes to the theme.
cd workspace/making-the-grade/dev
gulp
If this isn't an option you can create a new CSS file in the web/_css directory and add it to to each webpage.
Updating the site
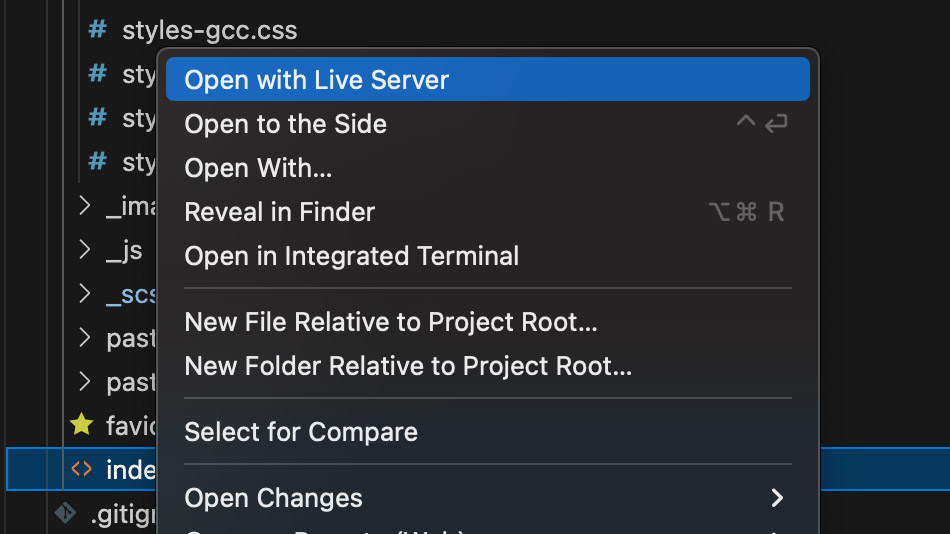
If you have installed all of the VSCode extensions from this how to guide open the site using live server by right clicking on the index.html file found in the web directory and clicking "Open with Live Server". This will open the site in your browser using a local server.
Most of the updates to the site are adding sponsor logos to the homepage, these can be reused from the previous years by copying the column that the logo lives in and pasting it in alphabetical order under the correct tier.
NOTE: When taking logos from the previous events pages make sure to update the ../ to a ./
<div class="column">
  <div class="column__inner">
    <div class="logo__block">
      <img class="logo" src="./_images/logos/Scotiabank-logo.png" alt="Scotiabank" />
    </div>
  </div>
</div>
Reviewing the Changes
Once you have done the updates locally you will need to share how the page looks in the ticket. To do this follow these steps:
- Right click and inspect the page
- Left click on the three dots and click Run command
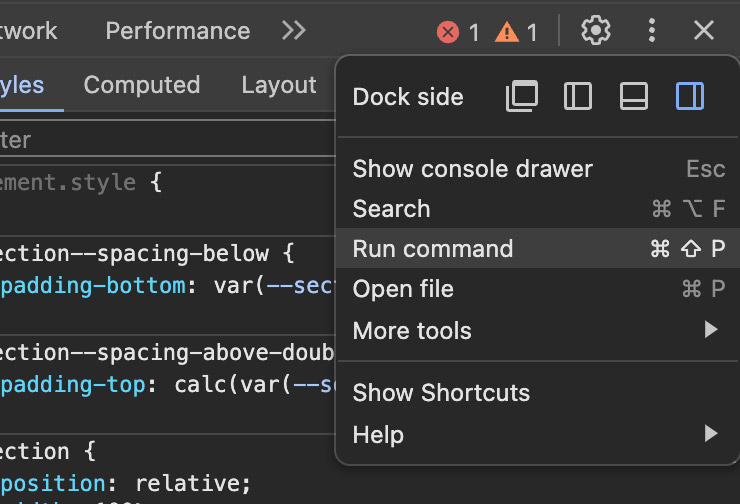
- Type screenshot
- Click "Capture full size screenshot"
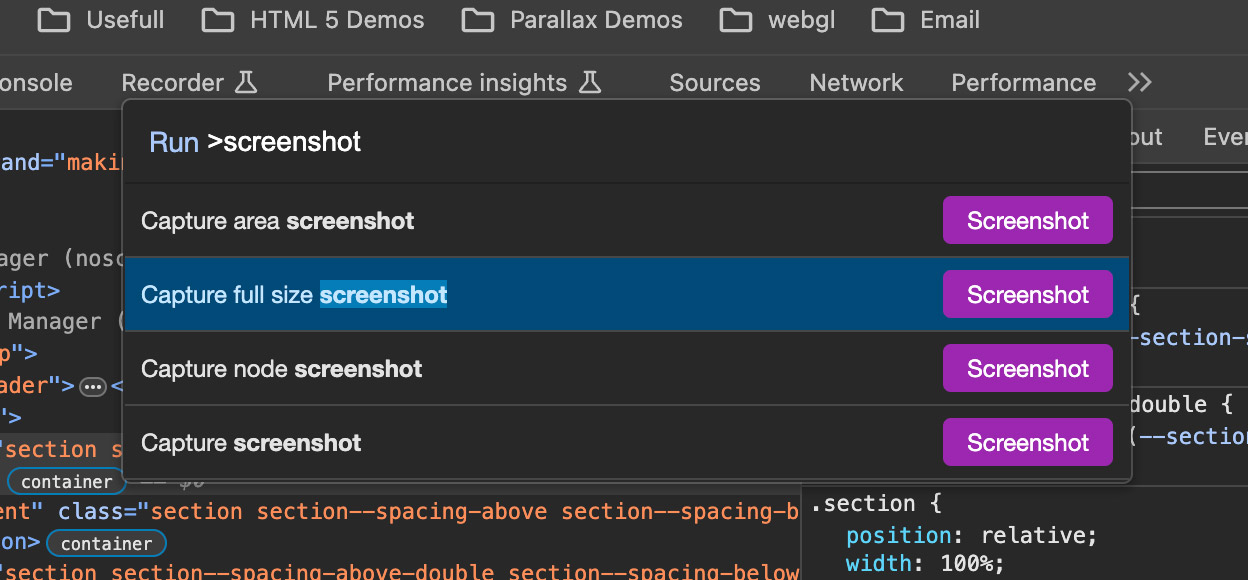
- Upload the image to the Jira ticket for the stakeholder to review
Deploying the Site
The site is hosted on HostGator and can be uploaded in one of two ways.
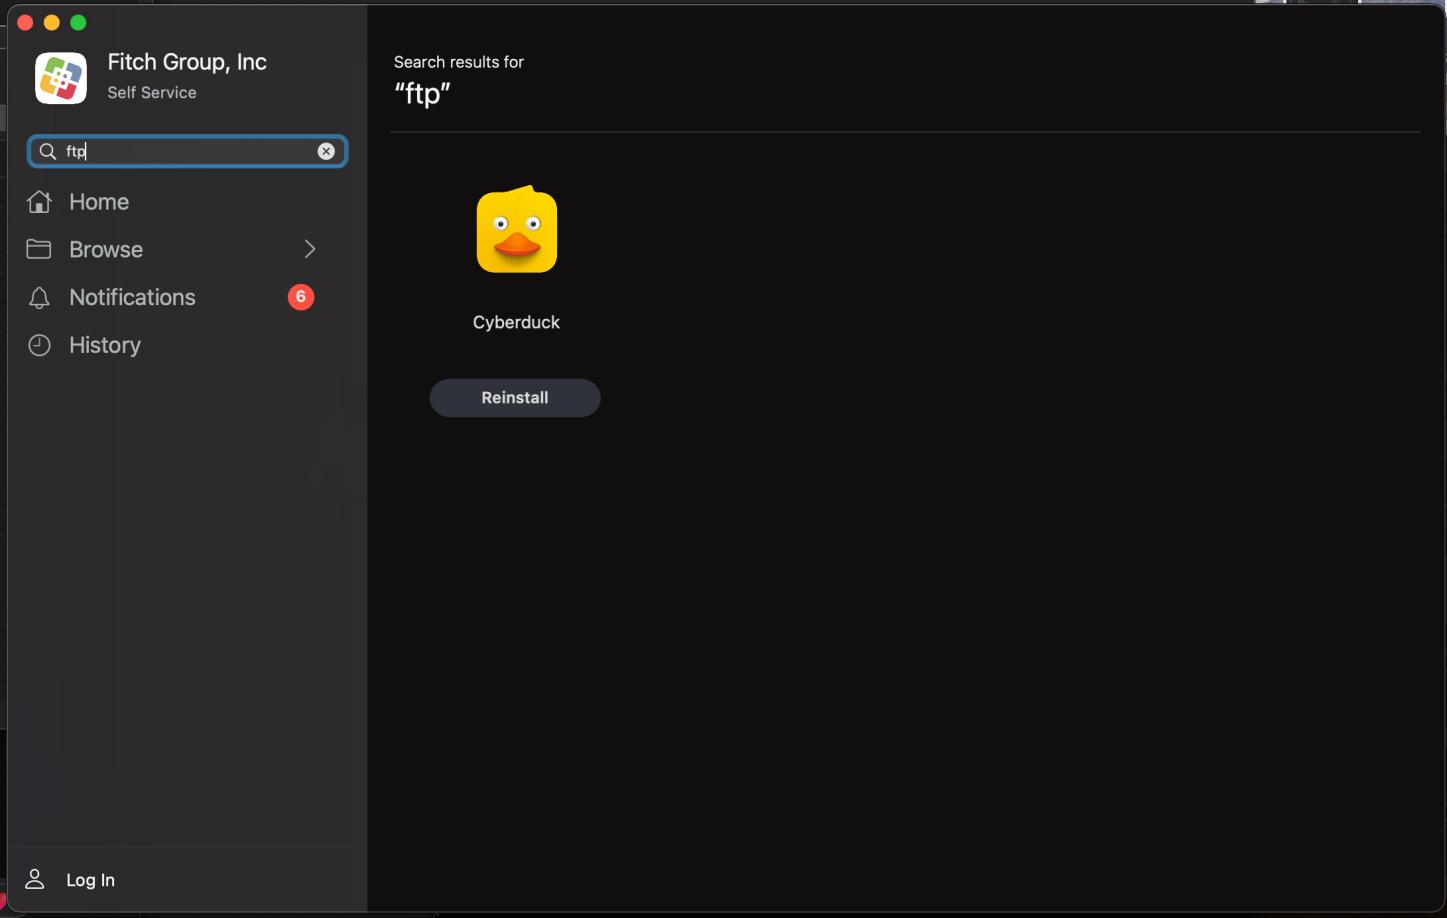
1. Using an FTP client (CyberDuck - MAC)
- If you don't have an FTP download CyberDuck or other from self service
- Configure the FTP connection using the quick connect file (supplied on request) or manually using these settings
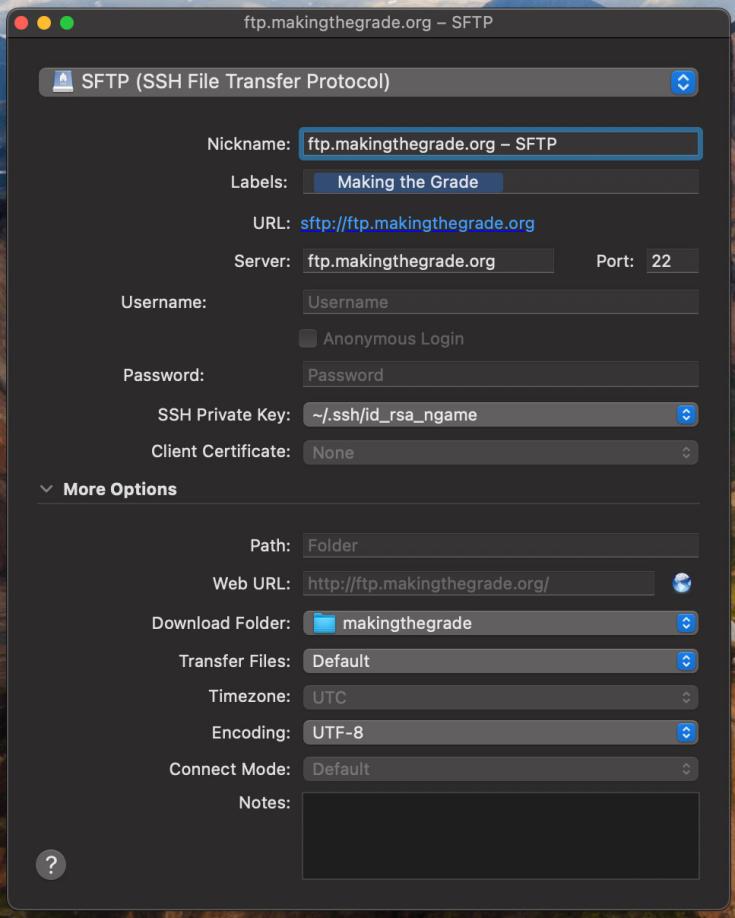
- Nickname: ftp.makingthegrade.org – SFTP
- Labels: Making the Grade
- URL: sftp://ftp.makingthegrade.org Port - 22
- Username: Supplied on request
- Password: Supplied on request
- SSH Private Key: Supplied on request
Under More Options - Path: Folder
- Web URL: http://ftp.makingthegrade.org/
- Download Folder: File path to your local project (workspace/making-the-grade/web)
- Once you have logged in via SFTP, make sure you go into the public_html folder. To upload, drag the files / folders from finder into the FTP client
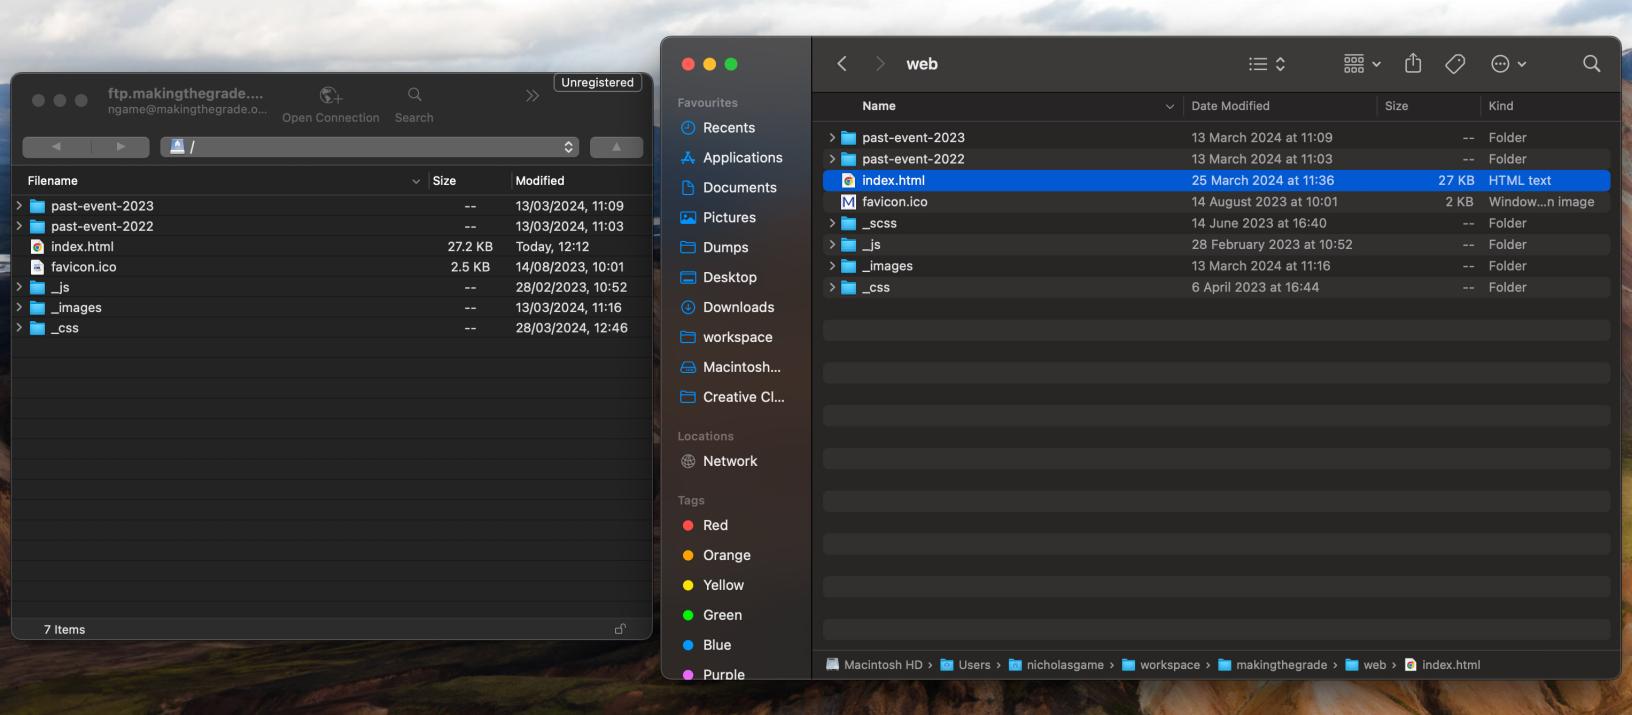
- When uploading files that already exist you will be prompted to overwrite them, click continue to do so

2. File Manager via cpanel
- To access cpanel you must first login to the HostGator account by visiting - https://portal.hostgator.com and using the credentials that are shared with those who need to know.
- Sometimes an offer message is display, click no thank you or close
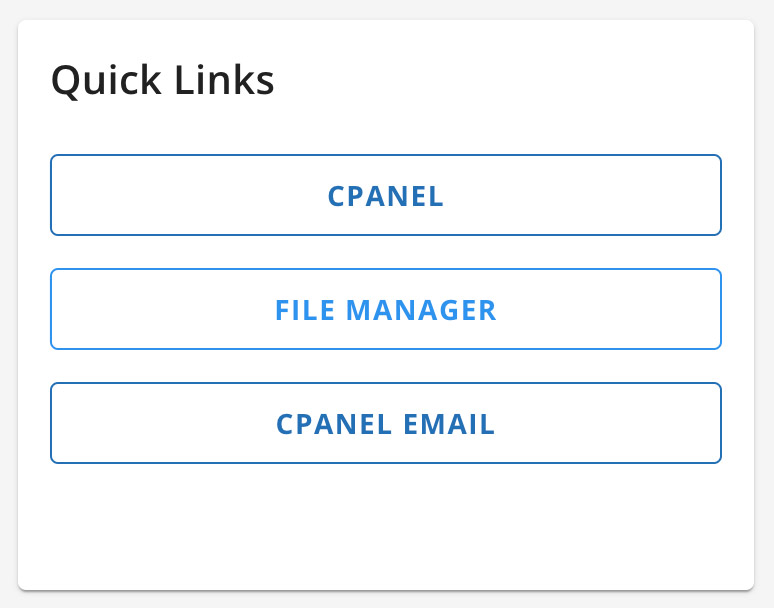
- Click on Hosting found on the left side bar

- Click File Manager from the quick links
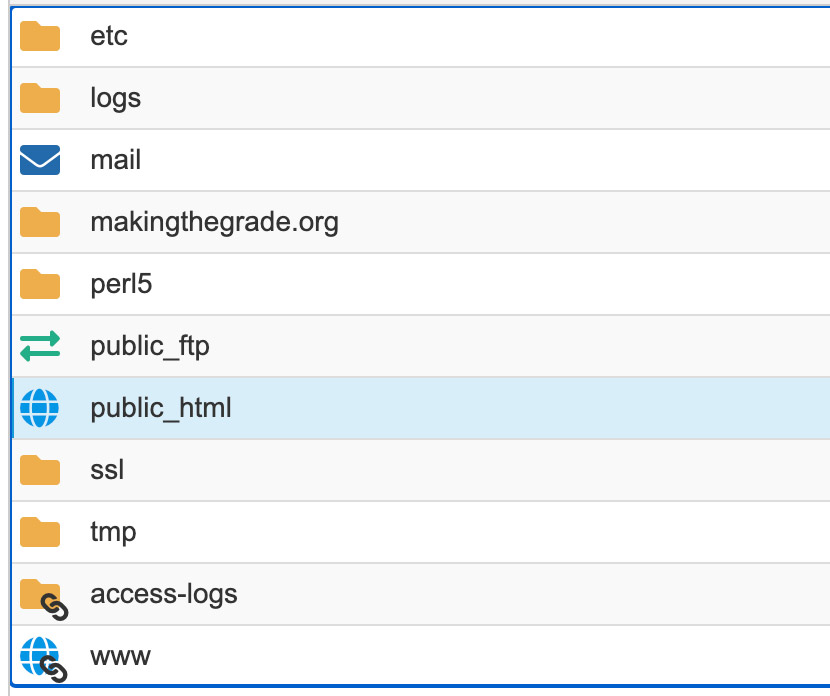
- Double click on public_html
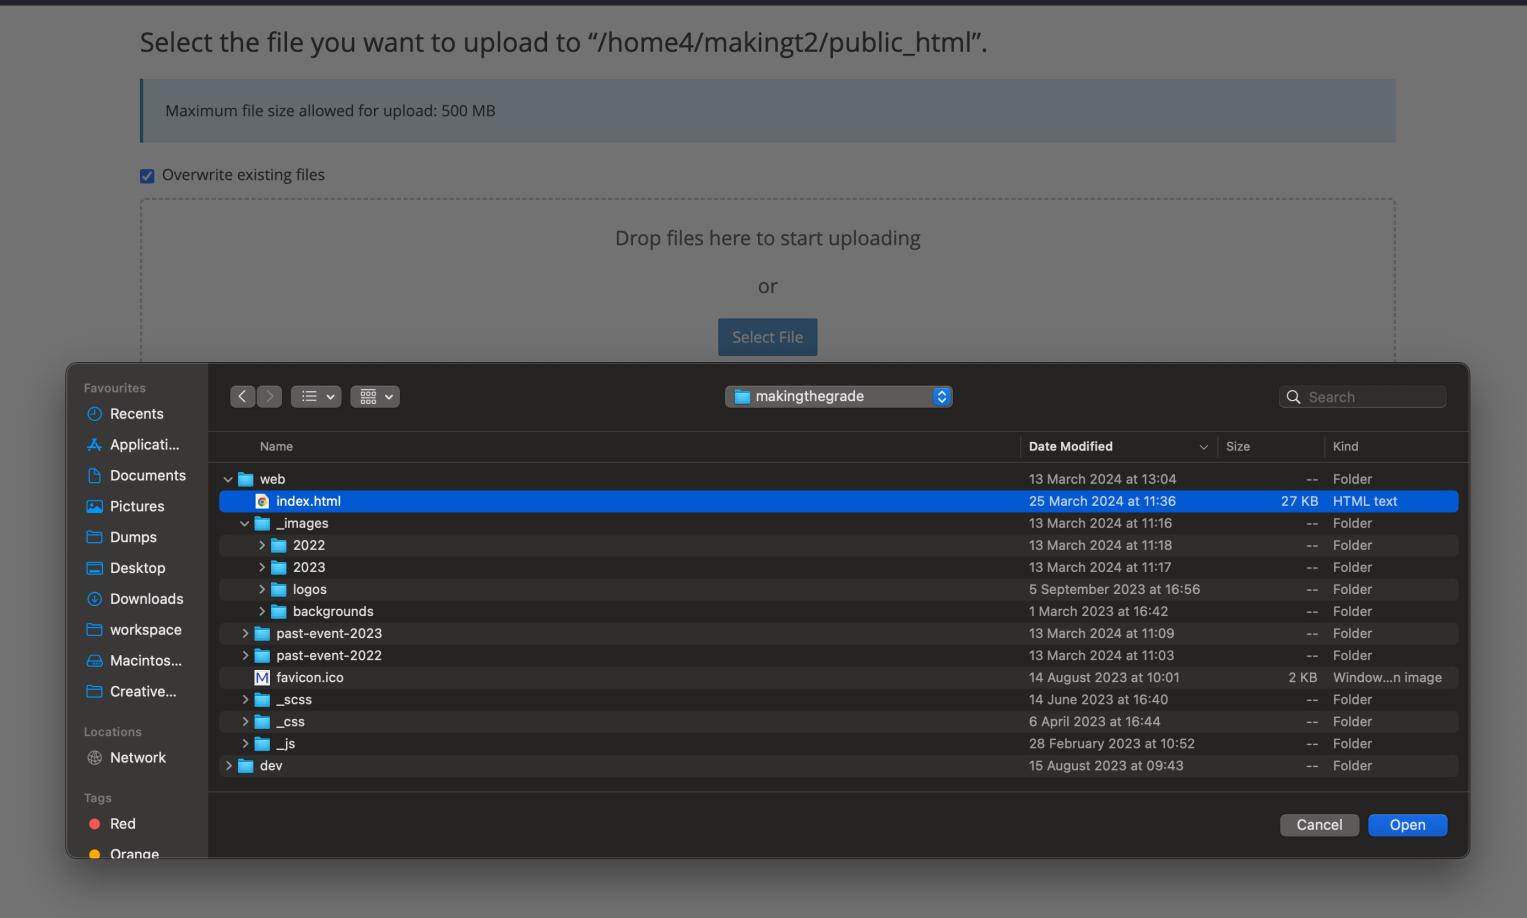
- Click Upload from the top bar
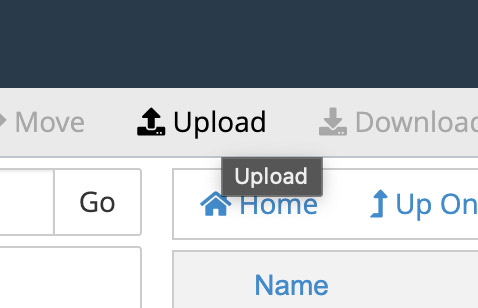
- Select the files needed to be uploaded (NOTE: files are uploaded one at a time and have to uploaded to the correct folder, you must also overwrite existing files, as soon as you click open the file will be uploaded)
- You can also ZIP the site up locally and extract it. (NOTE: when doing this file permissions can change and they won't be served on the site. Ensure the folder permission are set to 755 and files to 644)
Once all of the files have been uploaded using either method make sure you test the site end to end and once happy the changes are correct update the Jira ticket so the stakeholder can confirm.